
Oil painting, as the name suggests is a type of painting made using oil-based paints. It involves using pigments that use a medium of drying oil as the binder and painting with them on a canvas. The most common types of oil in oil paints are linseed oil, walnut oil, poppy seed oil, and safflower oil.
It has been the most common technique for painting on canvas, wood panel or copper for several centuries, spreading from Europe to the rest of the world. The advantages of oil for painting are greater flexibility, richer and denser colour, use of layers, and a wider range from light to dark. But the process is generally slow as one layer of paint needs to be allowed to dry before another is applied.
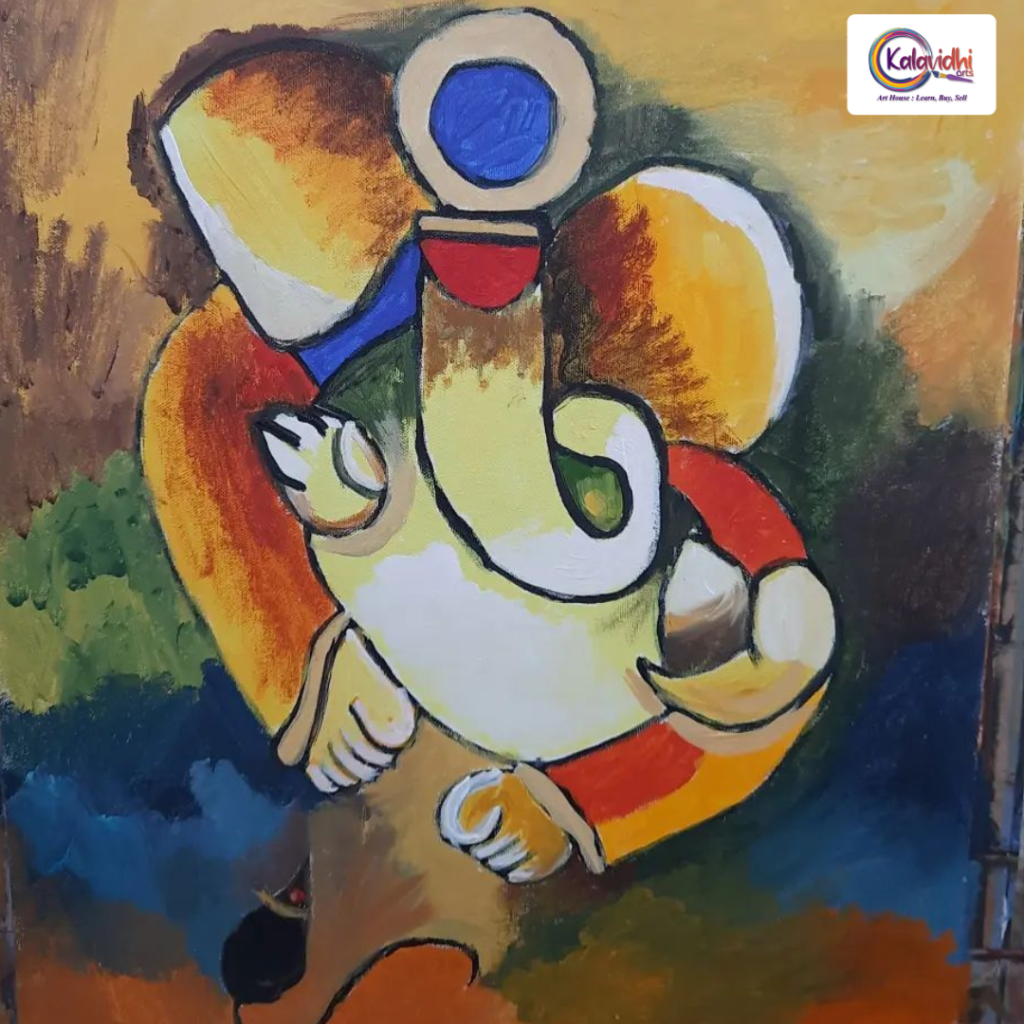
Some of the famous oil paintings include Mona Lisa by Leonardo da Vinci, The Anatomy Lesson of Dr. Nicolaes Tulp by Rembrandt, The Milkmaid by Johannes Vermeer,The Blue Boy by Thomas Gainsborough, Portrait of Dr. Gachet by Vincent Van Gogh, The Old Guitarist by Pablo Picasso etc.
Are you ready to learn oil painting step-by-step?
Step 1: Get your tools and mindset ready
Collect your basic supplies for oil painting like canvas, brushes, oil paints, palette and palette knife if you wish to be a little ambitious for your first outing, a blending medium or a thinner and some other stuff like cleaning cloth, jars for cleaning brushes.
Step 2: Choose your subject
Being a beginner, it is prudent todevelop your hand on simple subjects such as still life forms. Landscape and portraits are more complex and advanced themes.
Step 3: Decide on the composition of painting
Before painting, it’s important to decide on the composition. This would include the placement of object,lighting, shadows, highlights, other lines and shapes in the background, colors and overall balance of the subject. Observing the object, checking it in different angles, focusing on any one detail etc. will add interest in your painting. Take some time to do this step!
Step 4: Create a rough sketch
Use a hard pencil to create a light sketch of the subject. Keep the sketch very light so that it doesn’t show through the paint; even in a very neutral, diluted color.You can also do this directly onto the canvas or onto tracing paper, and transfer it using a carbon copy.
Step 5: Start painting
In oil painting, it is recommended to use the thin-to-thick method in which you paint with thin paint before using thick paint.That means each succeeding layer should be slightly “thicker,” means it contains more oil than the previous one. To achieve this, highly dilute the first layers, with the following ones less and less diluted. Color knowledge, creating a hue, tint, tone, shade etc. come in handy. But what is Art without experimenting? So, go ahead and paint with colors you like.
Step 6: Final touches
It takes about three days for the paint to get dry and this is the time when you can alter any mistakes or remove them completely with a damp rag. Before you decide the painting is complete, take a step back and look at the painting in its totality to see if any changes are needed, evaluate it. Be your first viewer!
Don’t hurry! Fine-tune your piece gradually, add lights, work on the shadows, and refine the details. And then the best part – sign your work!
Kalavidhi Art-vantages!
- Start with simple basic shapes and objects before graduating to complex landscapes
- Oil paint can give off fumes, so make sure that your area is well ventilated with an open window or door
- If you are using an easel, adjust it to the correct standing or sitting position and angle
- Don’t try to replicate the entire scene down to the smallest details or you’ll overload your painting unnecessarily
- To thin your paint, use a blending medium (linseed oil or turpentine) mixed with your paint. Don’t use too much to start, but gradually add more until you get the consistency you want
- Wait for the coat of paint to be thoroughly dry before applying the next one
- To check whether the background is dry, lightly run your index finger over several spots: if it doesn’t pick up any paint – even if the surface seems sticky – you can add the next layer
- Start small and slowly build up on colors and techniques
- Don’t be a perfectionist
- Practice and experiment to find your unique style and what you enjoy
- Some handy tips:
- For Hue – Pure hues are colors that have not been mixed with either white or black. You can mix the primary colors to create the secondary colors
- ForTint– Add white to the paint. This will lighten it and make a more pastel colorFor Shade – Add black to any paint color
- For Shade – Add black to any paint color
- For Tone–Add white to a shade
Share your oil paintings on your Instagram and Facebook accounts, tag Kalavidhi Arts and get featured on Kalavidhi Arts Instagram and Facebook page
Happy Painting!