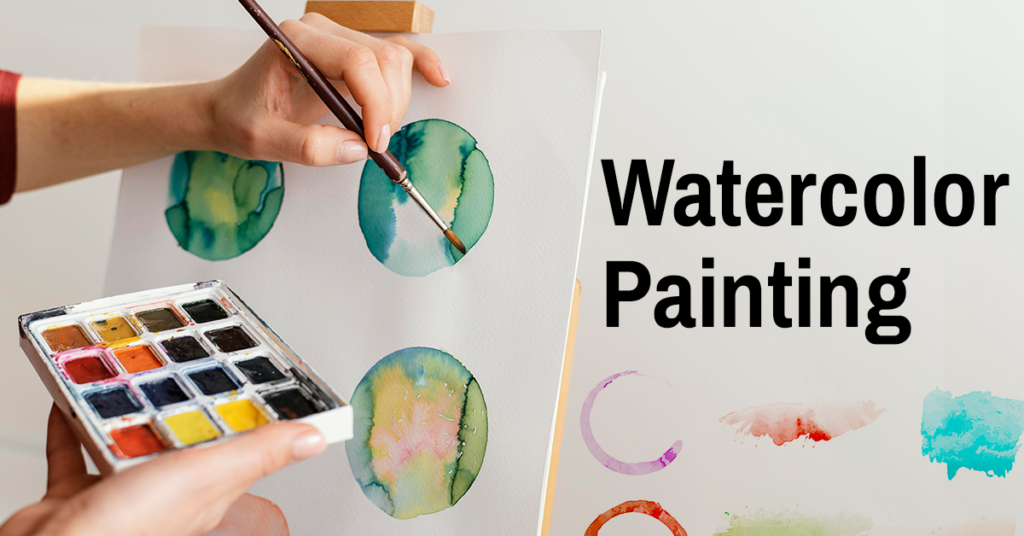
Watercolour medium is fun to play with. It is one of the primitive types of painting. These are cost effective, give a lot of possibilities for creative self-expression, are non-toxic and water-based. So, if you’re just a beginner or want to get your creative juices flowing, watercolor paintings are a great start! Watercolor being a versatile and flexible medium can yield a variety of results. Despite being a tricky medium to master, there are various watercolor techniques you can adopt as your own to create a skill worth pursuing.
So, lets get going!
Step 1: Get your tools and mindset ready
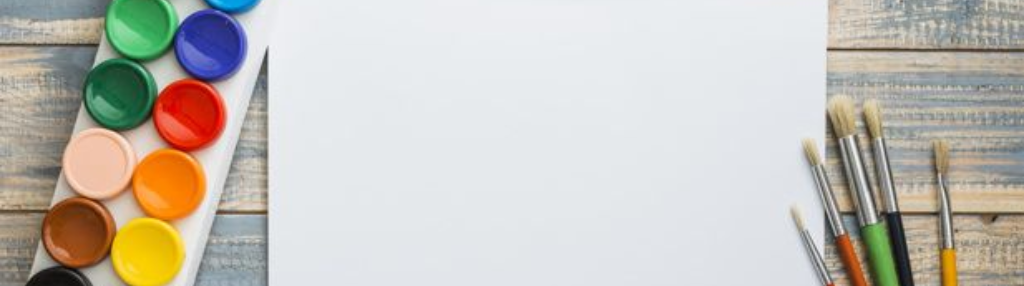
When you’re first starting out, you don’t need anything fancy.The basics include a brush, watercolor paper, and a few paints. You don’t even need an entire range of colors just the basic red, blue and yellow will do.Get a palette for mixing colors and two containers for water – one for cleaning brush and one for wetting brush.
Step 2: Color Theory and Color Mixing
It is important to understand the primary colors (red, blue, yellow) and what secondary colors we get by mixing them. Also, familiarising oneself with color wheel to grasp complementary and analogous color schemes comes in handy.
Click here to know more about Brushes
Step 3: Wash Techniques
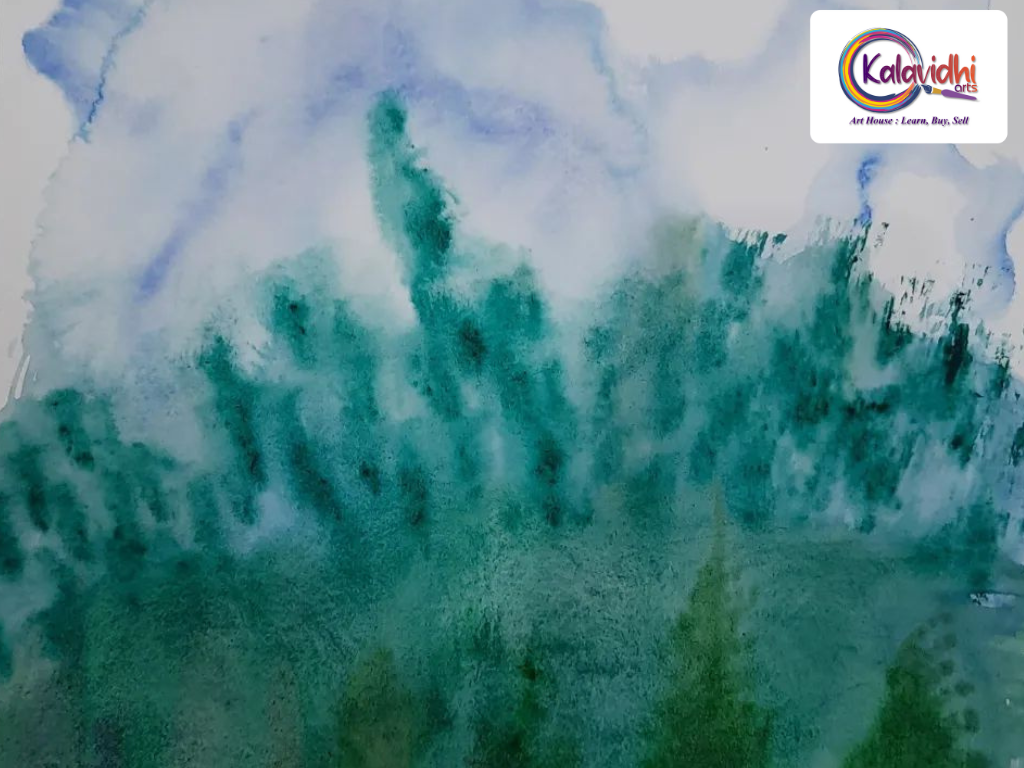
Technique 1: Wet-on-Wet washes
This means applying wet paint on wet paper for soft and blended effects. These are great for backgrounds. To create this type of wash, lightly brush the wash area on your paper with water. Make sure that the water coats the whole area evenly. Next, fill a large flat brush with color. Now, slowly with a steady hand paint an even line at the top of your practice wet area. Be ready for an unexpected gradient that creates beautiful blooms as it dries.
Technique 2: Wet-on-Dry washes
This means applying wet paint on dry paper for lighter effects. Creating a wash on dry paper gives more control over the outcome and the overall look of the gradient. To create a gradient with wet-on-dry technique, load up the brush with color and paint a line across the top of wash area. Continue to paint strokes downward, dipping the brush in the water each time. Dipping your brush in water after each stroke desaturates the pigment and creates an ombre gradient effect.
Step 4: Watercolor Techniques
Technique 1: Layering
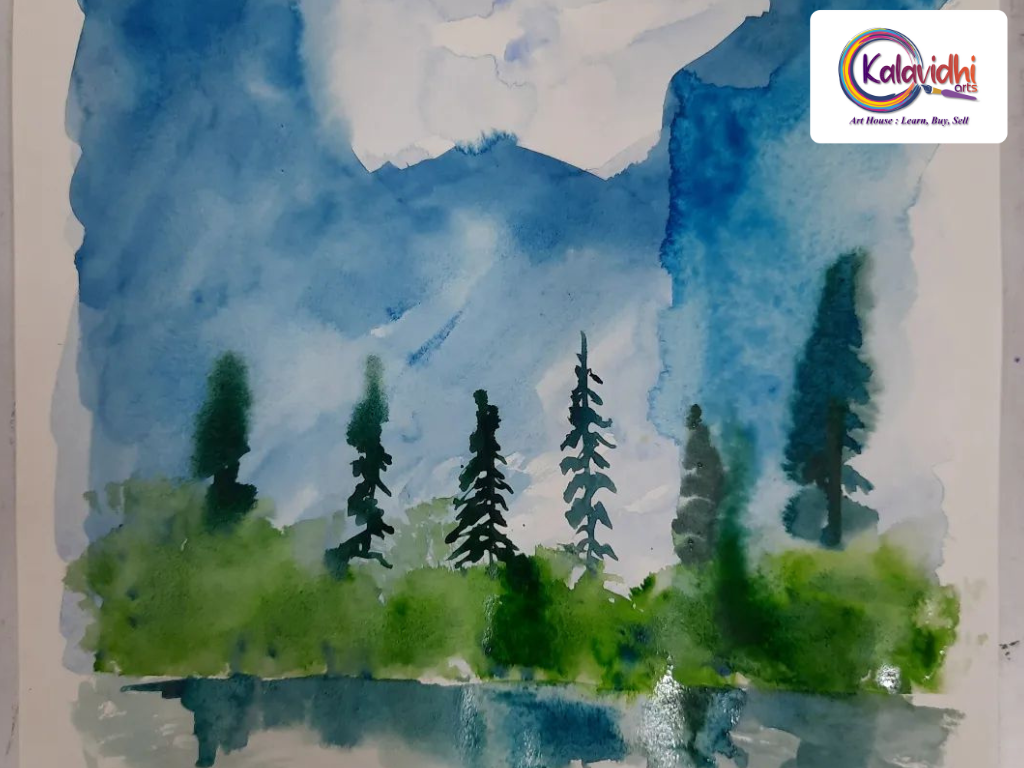
Layering with colors can add depth and richness of the color.
Technique 2: Blending
Blending means dropping little bits of pigment (color) into the wet areas of the paining. These bloom outward and add a dark shade of the color. Make sure the segment of the painting that you’d like to blend is still wet. From there simply dot in the color you want to add and watch it bloom!
Step 5: Brush Control
Brush control takes practice and is an important part of watercolor journey.
Step 6: Practice
No matter what you do, practice makes one perfect. If you want to get better at painting, the same advice applies: keep practicing. Steadily working on perfecting your skills will help you grow as an artist and push you to learn new styles.
Kalavidhi Art-vantages!
- Explore styles like painting realistic objects, abstract and illustrative artworks
- While painting, if there is too much color on the paper, learn to lift it with a clean, damp brush or sponge
- Start small and slowly build up on colors and techniques
- Keep a sketchbook for experimentation
- Don’t be a perfectionist
- Use a gentle amount of water, pigments and pressure
- Experiment to find your unique style and what your enjoy
Share your watercolor paintings on your Instagram and Facebook accounts, tag Kalavidhi Arts and get featured on Kalavidhi Arts Instagram and Facebook page.
Happy Painting!